
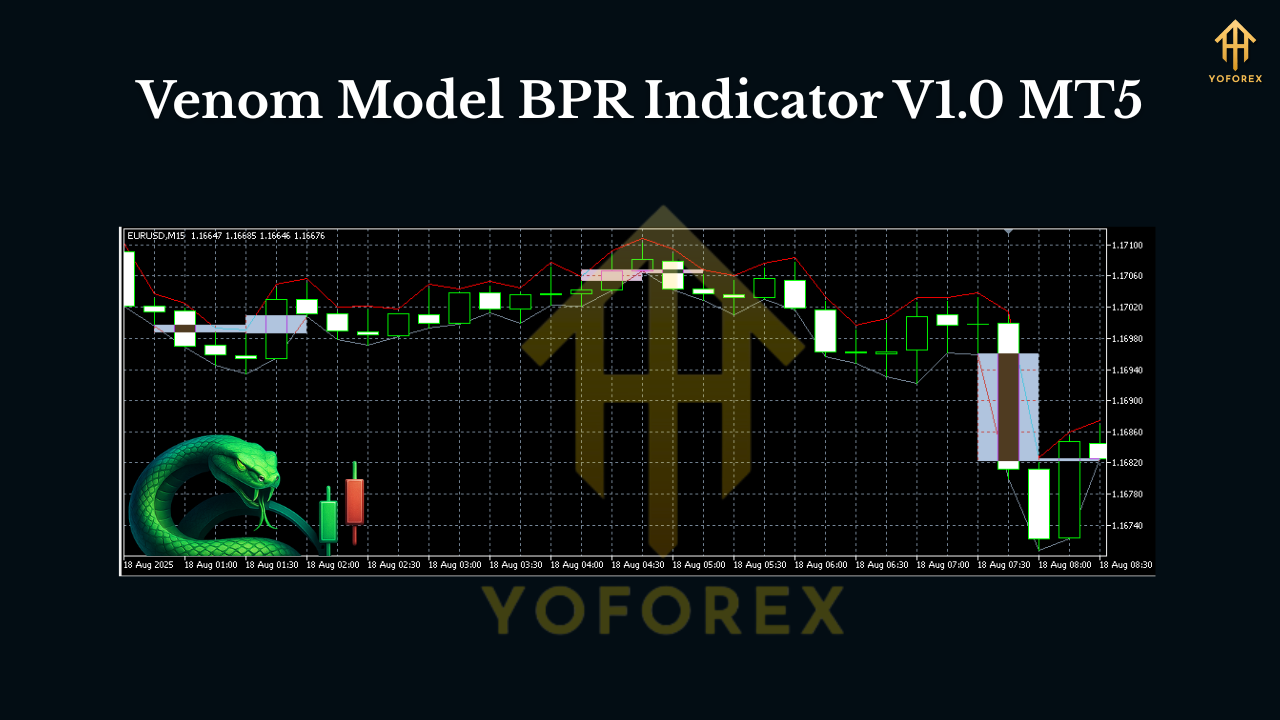
Venom Model BPR Indicator V1.0 MT5 — Trade Balanced Price Ranges With Confidence
If you’ve been hunting for clean entries around liquidity sweeps and imbalances—but get stuck drawing zones by hand—Venom Model BPR Indicator V1.0 for MT5 is going to feel like a cheat code. It automates the Balanced Price Range (BPR) logic that smart-money traders love: detecting where price rebalances after an aggressive move, then flagging premium/discount entries with crystal-clear signals and alerts. No more guesswork, no more messy charts—just actionable levels, mapped in real time.
What is BPR (Balanced Price Range) and why it works
At its core, a BPR forms when price makes a strong displacement (often after sweeping liquidity), then snaps back to “rebalance” the impulse before continuing in the original direction. This “balanced” area is where institutions often reload into trend. For intraday traders, BPRs become a powerful reaction zone: buy in discount in a bullish BPR or sell in premium in a bearish BPR, with stops tucked logically beyond the range.
Venom Model BPR automates all of this. It scans price action for valid displacement legs, confirms volume/volatility context, then draws the balanced range with precision so you can plan entries, stops, and targets around it.

How the Venom Model BPR Indicator helps
Manual BPR drawing is error-prone—especially when markets are fast. Venom Model BPR handles the detection, drawing, and labeling, and it can alert you when price returns to the zone. You can apply it across multiple pairs and timeframes to spot confluent setups (e.g., M15 BPR aligning with H1 bias), which is where trade quality skyrockets.
Key features at a glance
- Automatic BPR detection with clear bullish/bearish coloring
- Premium/Discount zones plotted inside each BPR for refined entries
- Liquidity sweep detection (optional) to confirm pre-BPR grabs
- Multi-timeframe bias filter so you only trade with the higher-TF narrative
- Session filters (London/NY/Asia) to focus on your best hours
- Alert system (pop-up, sound, push/email) when price taps the BPR or midline
- Clean labels for entry, invalidation, and target ideas (customizable)
- Minimal repaint logic—zones are fixed once confirmed by price action
- Performance overlay to track hit/miss statistics by symbol & timeframe
- Resource-light coding so your MT5 stays snappy even with several charts open
Recommended markets, timeframes, and templates
- Pairs: EURUSD, GBPUSD, USDJPY, US30, NAS100, and XAUUSD (Gold).
- Timeframes: M5–H4. For day trading, M15 and M30 shine; for swing, H1–H4.
- Confluence: Use H1 for bias, M15 for BPR execution. If you prefer scalps, M5 entries inside an M15 BPR work nicely when spreads are tight.
Tip: On Gold (XAUUSD), consider widening the minimum displacement threshold in settings so only meaningful impulses create BPRs.
The Venom execution playbook (simple & repeatable)
Bullish example (discount entry):
- Market sweeps a prior low → swift bullish displacement.
- Venom prints a bullish BPR and shades discount within it.
- Wait for price to retrace into discount; look for a tiny LTF shift (a small bullish engulfing or break of a micro-high).
- Enter with stop below the BPR low (conservative) or below the micro swing (aggressive).
- Target the impulse high, then extend to next liquidity (clean equal highs, fair value gap edge, or session high).
Bearish example (premium entry):
- Market sweeps a prior high → strong bearish displacement.
- A bearish BPR prints; premium zone is highlighted.
- On return to premium, watch for a small bearish shift to trigger.
- Stop goes above the BPR high; targets aim at the impulse low and the next liquidity pocket beneath.
You can layer session timing (e.g., London/NY) and news filters to avoid random spikes. The indicator won’t stop you from trading news—but it’ll make the zone visible so you can choose to stand aside or tighten risk.
Settings that matter (and how to dial them in)
- Displacement sensitivity: Higher values = fewer but stronger BPRs; lower values = more signals but noisier.
- Minimum range size (points): Avoid micro BPRs that spreads can eat.
- MTF bias filter: Toggle to only allow long BPRs when H1 is bullish (and vice versa).
- Alert conditions:
- First tap of BPR (great for initial touch plays)
- Midline tap (mean-reversion style)
- Break of BPR (potential invalidation or trend change)
- Visuals: Choose soft colors and keep other indicators muted—Venom is designed to be the star of the chart.
Backtesting and forward-testing protocol
Before you go live, do two passes:
Visual bar-replay backtest:
- Pick one pair and one timeframe (e.g., EURUSD M15).
- Define rules: entry only on first touch of BPR discount/premium + tiny LTF shift; SL at BPR edge; TP at impulse extreme.
- Track at least 50 trades to get a real feel of win rate, average R, and drawdown.
2. Forward demo test (2–3 weeks):
- Limit to 1–2 trades per session to avoid overtrading.
- Use fixed risk (e.g., 0.5% per trade).
- Journal confluence: higher-TF bias, session, liquidity context, and result.
What you’ll likely notice: the best trades happen when liquidity is taken first, then displacement, then BPR forms, then a clean return to the range during a liquid session window. That’s the bread-and-butter Venom setup.
Risk management and trade management
- Stops: At or slightly beyond the BPR edge—don’t suffocate trades.
- Targets: Start at the impulse extreme; scale further toward equal highs/lows or FVG edges.
- Breakeven: Consider moving to BE only after price crosses the BPR midline in your favor.
- Daily max loss: 1–2R or 2% of equity—close the platform if hit.
- News: If a high-impact event is minutes away, either stand aside or cut size in half.
Who the Venom Model BPR Indicator is for
- Discretionary SMC traders who want BPR precision without chart clutter.
- Scalpers and intraday traders who value session timing and clean rules.
- Swing traders who use H1–H4 bias and prefer set-and-forget zone alerts.
- Prop-firm traders needing a rules-driven, low-drawdown approach.
Installation & quick start (MT5)
- Copy the indicator file into MQL5 → Indicators.
- Restart MT5; drag Venom Model BPR onto your chart.
- Load the included template or set your colors, alerts, and MTF filter.
- Start with M15 and one major pair to learn the rhythm before expanding.
Practical tips (from real chart flow)
- A BPR that aligns with an H1/FVG or daily bias is worth more than a random intraday BPR.
- If price fails to respect the BPR on first touch, don’t “revenge re-enter” on the second. Wait for a fresh leg and new BPR.
- Avoid overlap: when two BPRs stack too tightly, pick the higher-timeframe one or the cleaner displacement.
Final word
If you’ve been trying to execute smart-money concepts with more consistency, Venom Model BPR Indicator V1.0 for MT5 brings the structure you need: objective BPR zones, crisp alerts, and a workflow that keeps you focused on A-setups. Master one timeframe, log your stats, and let the model do the heavy lifting—so you can do the easy part: execute.
Join our Telegram for the latest updates and support


Comments
Leave a Comment