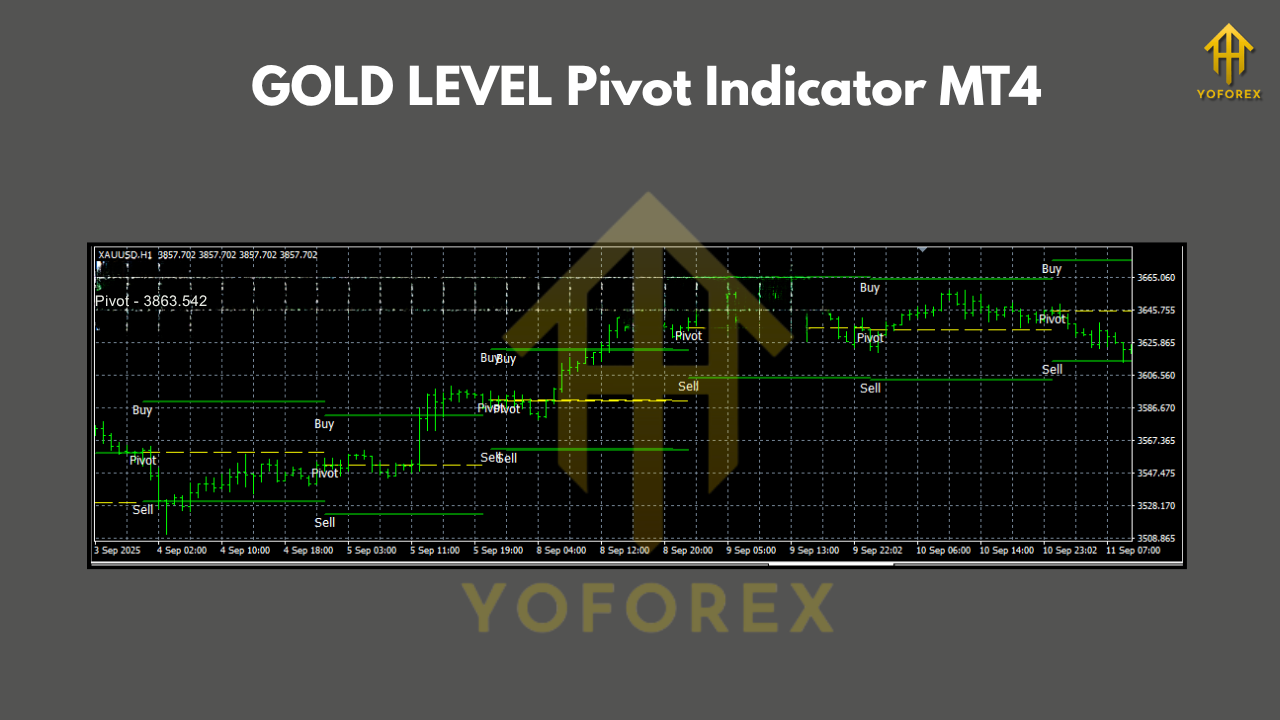
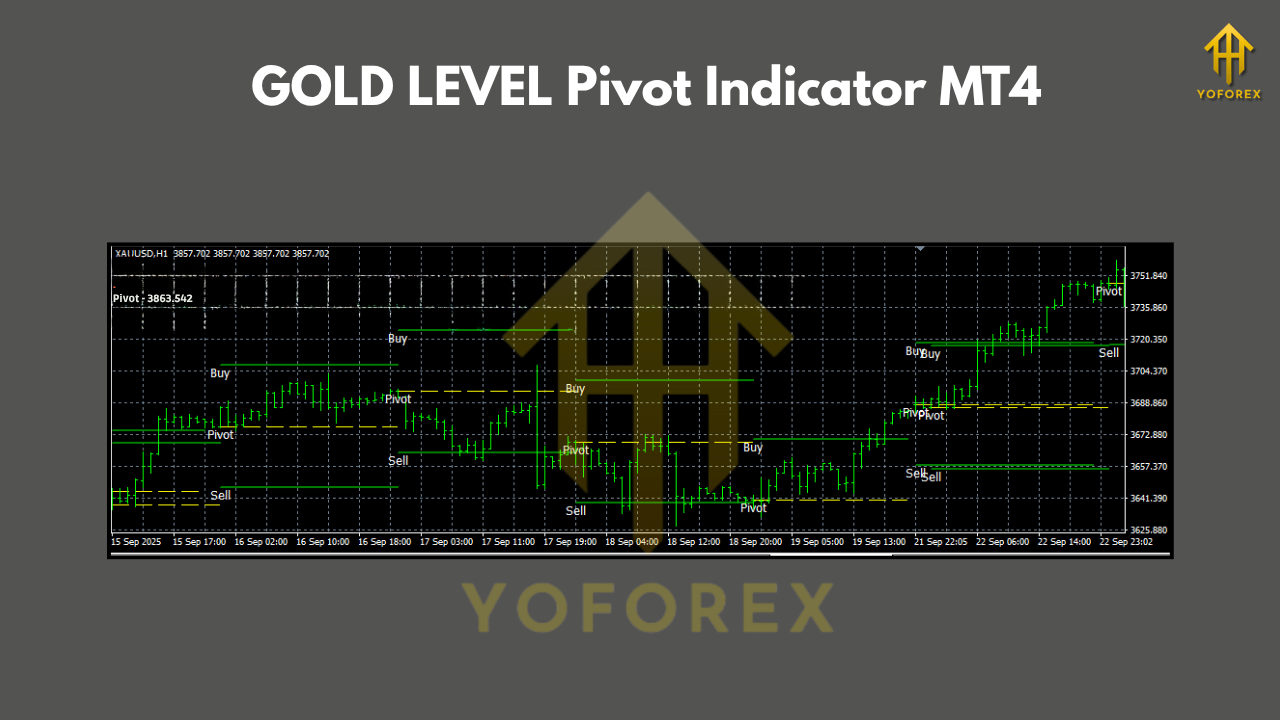
GOLD LEVEL Pivot Indicator MT4 (XAUUSD) — The Simple, No-Nonsense Way to Trade Gold Pivots
Tired of messy charts, repainting arrows, and robots that promise the moon? If you trade Gold (XAUUSD) on MetaTrader 4, the GOLD LEVEL Pivot Indicator might be exactly what you’ve been hunting for. It’s clean, logical, and—most importantly—rooted in one of the oldest intraday frameworks in trading: pivot points. No fancy gimmicks. No “AI that sees the future.” Just transparent levels (PP, S1–S3, R1–R3) that many institutional traders glance at every day to judge where price is likely to react.
In this post, you’ll get a complete walkthrough: what the indicator does, the best timeframes to use, how to install it, recommended confluence tools (like a moving average or ATR), and a battle-tested playbook for entries, stops, and targets. You’ll also find a quick FAQ at the end. Keep reading; if you like straightforward, rules-based trading, this is going to feel refreshingly sane… coz it is.
What the GOLD LEVEL Pivot Indicator Does (in plain English)
The indicator plots classical daily pivot points—the central Pivot (PP) plus support/resistance bands S1, S2, S3 and R1, R2, R3—based on the prior session’s high, low, and close. Many traders treat PP as the “intraday mean,” while S/R bands are like speed bumps where price often pauses, flips, or extends.
You’ll use it to:
- Spot high-probability reaction zones.
- Define clear invalidation (stop-loss beyond the level that failed).
- Set mechanical profit targets (the next pivot band).
- Keep your trading process consistent and emotion-light.
Core idea: Buy near supports (S1/S2) on bullish confirmation; sell near resistances (R1/R2) on bearish confirmation; use PP to gauge bias and target selection.
Recommended Timeframes (and why)
Best overall: M15–H1 with Daily pivots.
- M15: Great balance for intraday traders—enough signals, not too much noise.
- H1: Clearer structure, fewer but cleaner setups; ideal if you prefer patience over screen-time.
Scalpers: M5 with Daily pivots works, but only if spreads are tight and you’ve got the discipline for quick exits.
Swing context: H4 can provide broader context when aligning with Daily pivots (e.g., hold partials for R2/S2 if H4 trend supports it).
TL;DR: If you’re unsure, start on M15 and graduate to H1 once you’re comfortable.
Key Features You’ll Like
- • Classic Daily Pivots: PP, S1–S3, R1–R3 with crisp labels.
- • Optional Modes: Many versions support Classic, Fibonacci, or Camarilla pivot formulas (stick to Classic to start).
- • Session Awareness: London/NY windows marked (if included) so you focus when Gold is most active.
- • Alert System: Pop-ups/push/email when price taps a pivot or closes beyond it (handy if you multi-task).
- • Clean Styling: Levels and labels that don’t crowd your chart.
- • Confluence Friendly: Plays nicely with 20/50 EMA, ATR, RSI, or VWAP—no indicator wars.
- • Risk Anchors: Natural places for stops and targets; simple to teach and automate later.
- • Works Across Brokers: As long as your feed is reliable; pivots won’t care about marketing hype.
- • Lightweight: Doesn’t slow your MT4 down with heavy calculations.
- • Multi-Timeframe Use: Read higher timeframe bias, execute on lower timeframe signals.
How It Works (The 3-Step Logic)
Bias Check with PP:
- Above PP? Bullish-lean; prefer buys at S1/S2 pullbacks.
- Below PP? Bearish-lean; prefer sells at R1/R2 retests.
2. Confirmation at the Band:
- Look for a rejection wick, a break-and-close back inside, or a micro-structure shift (e.g., M15 lower high at R1 in a down-bias).
3. Mechanical Targets:
- First target is usually the next pivot level (e.g., from S1 → PP, or from R1 → PP).
- Secondary target: the following band (S2 or R2) if trend momentum agrees.
Stops go just beyond the level that failed (e.g., a few dollars beyond R1 on XAUUSD), sized using ATR or a fixed dollar buffer.
A Practical Playbook for XAUUSD (M15 Example)
Scenario: Gold opens below PP, pushes up to R1, and stalls.
- Entry idea: Wait for a bearish rejection candle at R1 or a close back below R1.
- Stop-loss: A buffer above R1 (e.g., ATR(14) × 0.5 on M15, or a fixed $2–$3).
- Take Profit 1 (TP1): PP.
- Take Profit 2 (TP2): S1 if intraday momentum remains bearish (confirm with 20/50 EMA slope or VWAP position).
Risk tip: Keep risk per trade at 0.5%–1%. Gold moves fast; you don’t need big risk to see meaningful gains.
Confluence That Actually Helps
- 20 & 50 EMA: Trade in the direction of the EMA stack. Bearish if 20<50 and price sits under both.
- ATR(14): Size stops/partials realistically; XAUUSD volatility expands during news and NY open.
- RSI(14): Optional—watch for divergences at R2/S2 or “RSI rejection” from the 50 line.
- Session Timing: Many clean pivots play out during London open and the NY session, especially near key data. Avoid overtrading the dead zones.
Installation & Setup (MT4)
- Download & Copy: Place the indicator .ex4/.mq4 file into
MQL4 > Indicatorsinside your MT4 Data Folder. - Restart MT4: Or right-click Navigator > Indicators > Refresh.
- Attach to Chart: Open XAUUSD, select M15 or H1, drag GOLD LEVEL Pivot Indicator onto the chart.
- Inputs to Review:
- Pivot Method: Classic (default).
- Pivot Period: Daily (recommended); try Weekly for swing context.
- Show Labels/Alerts: Enable as needed.
- Line Style/Thickness: Customize for visibility.
Template tip: Save your layout as a template (“Gold_Pivot_M15.tpl”) so you can load it in one click.
Risk Management & Trade Management
- Risk Per Trade: 0.5%–1% is plenty for Gold intraday.
- Trade Count: 1–3 A-setups per session is realistic. More trades ≠ more profit.
- Move to Breakeven: After TP1 hits (next pivot band), consider moving stop to entry to reduce emotional load.
- News Filter: Pivots can slip during high-impact news. Either widen stops (pre-planned) or stand aside—discipline beats FOMO.
- Max Daily Loss: Pre-define a daily drawdown cap (e.g., 2%). When you hit it, you stop. Non-negotiable.
Example Trade Logic (Pseudo-Rules)
- Short Setup:
- Price trades below PP, pulls into R1/R2.
- Bearish rejection or M15 lower-high + close under the level.
- Sell with stop just above R1/R2 (buffer = ATR×0.5 or $2–$3).
- TP1: PP. TP2: S1. TP3: S2 if trend accelerates.
- Long Setup:
- Price above PP, dips into S1/S2.
- Bullish rejection or M15 higher-low + close back above the level.
- Buy with stop just below S1/S2 (ATR×0.5 or $2–$3).
- TP1: PP. TP2: R1. TP3: R2 if momentum persists.
Keep it boring, consistent, repeatable. That’s the point.
Troubleshooting & Common Mistakes
- “I get chopped at PP.” Wait for confirmation: wick rejection or a candle close back through PP before entering.
- “R1/S1 breaks and runs without me.” It happens. Don’t chase. The next clean retest is your friend.
- “Too many signals on M5.” Shift to M15/H1 to filter noise.
- “Stops feel random.” Use ATR or a fixed $ buffer; write it down and stick to it.
- “My broker’s levels look slightly different.” Small feed differences are normal. The structure still applies.
Final Thoughts (and a tiny pep-talk)
If you’re done chasing magic bullets, the GOLD LEVEL Pivot Indicator is a breath of fresh air. It keeps your eyes on where price is likely to react and gives you objective anchors for entries, stops, and targets. No need to predict the future; just read the levels, respect the tape, and execute your plan. You’ll trade calmer and think clearer—tho it still takes practice (and a journal!).


Comments
Leave a Comment